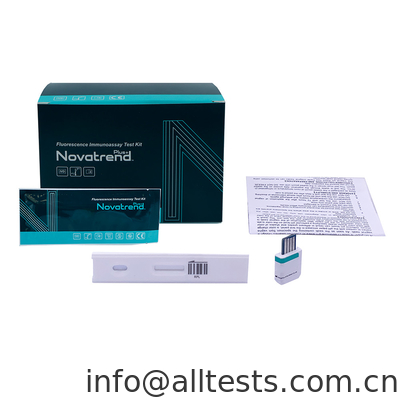
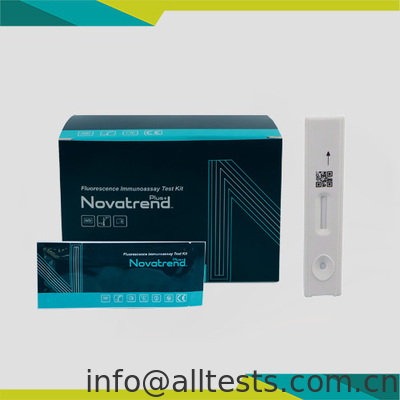
The PRL Test Cassette (Whole Blood/Serum/Plasma) is based on Fluorescence
Immunoassay for the quantitative detection of Prolactin (PRL) in human whole blood, serum or
【SUMMARY】
PRL (Prolactin), also known as lactotropin, is a protein best known for its role in enabling
mammals (and birds), usually females, to produce milk. It is influential in over 300 separate
processes in various vertebrates, including humans.1 Prolactin is secreted from the pituitary
gland in response to eating, mating, treatment, ovulation and nursing. It is secreted
heavily in pulses in between these events. Prolactin plays an essential role in metabolism,
regulation of the immune system and pancreatic development. In usual circumstances, in the
absence of galactorrhea, lactation ceases within one or two weeks following the end of
breastfeeding. Hypersecretion is more common than hyposecretion, hyperprolactinemia is the
most frequent abnormality of the anterior pituitary tumors, termed prolactinomas. Prolactin
levels may be checked as part of a sex hormone workup, as elevated prolactin secretion can
suppress the secretion of follicle stimulating hormone and gonadotropin-releasing hormone,
leading to hypogonadism and sometimes causing erectile dysfunction.
【PRINCIPLE】
The PRL Test Cassette (Whole Blood/Serum/Plasma) detects PRL (Prolactin) based on
fluorescence immunoassay. The sample moves through the strip from sample pad to
absorbent pad. If the specimen contains PRL, it attaches to the fluorescent
microspheres-conjugated anti-PRL antibodies. Then the complex will be captured by the
capture antibodies coated on the nitrocellulose membrane (Test line). The concentration of
PRL in the sample correlates linearly with the fluorescence signal intensity captured on the T
line. According to the fluorescence intensity of the test and standard curve, the concentration of
PRL in the sample can be calculated by analyzer to show PRL concentration in specimen.
【REAGENTS】
The test includes anti-PRL antibody coated fluorophore and anti-PRL antibody coated on the
membrane.
【PRECAUTIONS】
1. For professional in vitro diagnostic use only.
2. Do not use after the expiration date indicated on the package. Do not use the test if the foil
pouch is damaged. Do not reuse.
3. Avoid cross-contamination of specimens by using a new specimen collection container for
each specimen obtained.
4. Do not eat, drink or smoke in the area where the specimens and tests are handled. Handle
all specimens as if they contain infectious agents. Observe established precautions against
microbiological hazards throughout the procedure and follow standard procedures for
proper disposal of specimens. Wear protective clothing such as laboratory coats,
disposable gloves and eye protection when specimens are assayed.
5. Do not interchange or mix reagents from different lots.
6. Humidity and temperature can adversely affect results.
7. Used testing materials should be discarded in accordance with local regulations.
8. Read the entire procedure carefully prior to any testing.
9. The PRL Test Cassette should only be used with the Analyzer by medical professionals.
【STORAGE AND STABILITY】
1. The test should be stored at 4-30 °C until the expiration date printed on the sealed pouch.
2. The test must remain in the sealed pouch until use.
3. Do not freeze.
4. Care should be taken to protect the components of the test from contamination.
5. Do not use if there is evidence of microbial contamination or precipitation. Biological
contamination of dispensing equipment, containers or reagents can lead to false results.
【SPECIMEN COLLECTION AND PREPARATION】
1. Collect the specimens according to standard procedures.
2. Do not leave specimens at room temperature for prolonged periods. Serum and Plasma
specimens may be stored at 2-8 °C for up to 5 days, for long term storage, specimens
should be kept below -20 °C. Whole blood collected by venipuncture should be stored at
2-8 °C if the test is to be used within 2 days of collection. Do not freeze whole blood
specimens. Whole blood collected by finger stick should be tested immediately.
3. Bring specimens to room temperature prior to testing. Frozen specimens must be
completely thawed and mixed well prior to testing. Avoid repeated freezing and thawing of
specimens. Only clear, non-hemolyzed specimens can be used.
4. EDTA K2, Sodium citrate, can be used as the anticoagulant tube for collecting the blood
specimen.
Sample Dilution/Sample Stability
1. The specimen (75 μL of serum/plasma/whole blood) can be added directly with the micro
pipette into the buffer.
2. Close the tube and shake the sample by hand vigorously for approximately 10 seconds to
mix the sample and dilution buffer well.
3. Let the diluted sample homogenize for approximately 1 minute.
4. The diluted sample can be used immediately or stored for up to 8 hours.
【MATERIALS】
Materials Provided
• Test Cassettes
• Specimen Collection Tubes with Buffer
• ID Card
• Package Insert
Materials Required but Not Provided
• Timer
• Centrifuge
• Fluorescence Immunoassay Analyzer
• Pipette
• Specimen Collection Containers
【DIRECTIONS FOR USE】
Refer to Fluorescence Immunoassay Analyzer User Manual for the complete instructions on
use of the analyzer. The test should be conducted at room temperature.
Allow the test, specimen and buffer to reach room temperature (15-30 °C) prior to
testing.
1. Turn on the Analyzer power.
2. Take out the ID card and insert it into the ID Card Slot. Choose test mode and/or sample
type according to needs.
3. Remove the test cassette from the sealed foil pouch and use it within 1 hour. Best results
will be obtained if the assay is performed immediately after opening the foil pouch.
4. Place the test on a flat and clean surface.
Pipette 75 μL of serum/plasma/whole blood into the buffer tube; mix the specimen and
the buffer well.
5. Pipette 75 μL of diluted specimen into the sample well of the cassette. Start the timer at
the same time.
6. Test results should be interpreted at 15 minutes with the use of Fluorescence
Immunoassay Analyzer.
Caution: There are different test modes of the Fluorescence Immunoassay Analyzer. The
difference between them is incubation of the test cassette is outside or inside the analyzer.
Choose test mode accordingly and confirm sample type. Consult the user manual of the
analyzer for detailed operation information.
Operator must consult the Fluorescence Immunoassay Analyzer User Manual prior to use and
become familiar with the processes and quality control procedures.